Blendermama 100
ByWelcome to my number 100 post on Blendermama!
I have started this blog in 2009 so maybe 100 is not that large a number for the given period. I had first met Blender a long time ago (almost 10 years actually) but the “mama” part was added that year. I have made some stops on the way, stumbled a bit over the 2.5 threshold, promised stuff then didn’t make time to deliver it. The Blender world and archviz industry are both moving fast around me and I feel it’s a tough task to keep a blog afloat and interesting on this subjects on a mum-working-from-home schedule.
But I am very pleased. Blendermama is my pet project and pressing “publish” on my 100th post will put a big smile on my face! Working with Blender and connecting with the Blender community is important to me.
In case you don’t have the time to read through, I’ll mention now that I’ve put a little bonus file towards the end of the post.
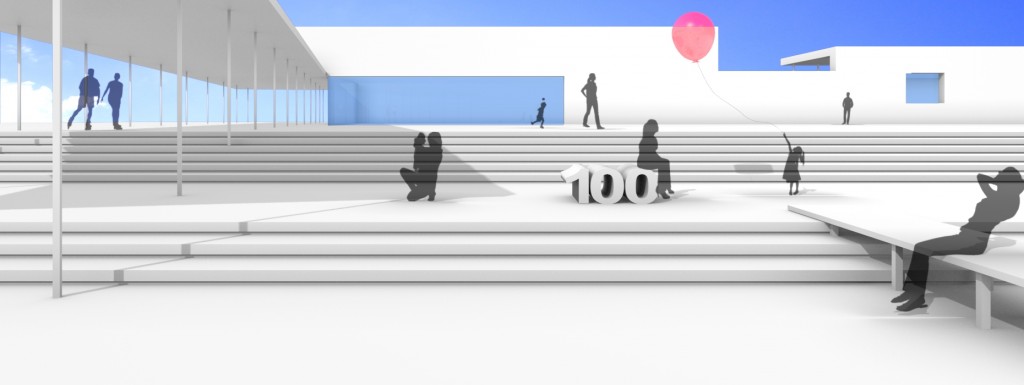
So now to the 100 post. This gave me writer’s block! I had some light subjects up my sleeve, on b-mesh bugs and small tips but I had to put those on hold in look of a nicer suitable subject. I also needed a “cover” for my FB page since it changed to timeline when I was too busy to take care of it and I was sadly coverless. I mused all the Easter holiday over the matter and was more and more stumped by what I should post about. Finally a particular train of thought started to form: blog – Internet – forum – public space – meeting place – community – happy people – cool sculptural forms – exterior/interior space – 100 – mom and kid playing – blue sky…. OK this could work 🙂
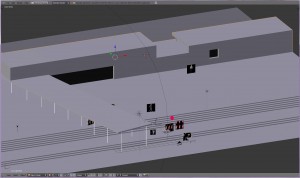
So that you don’t have to wait another month for a new post I decided to start on a stylised image, work the composition out (now you might have noticed I aimed to fit the FB layout) and if I still like the setup in a week I could take this scene further with more detail, texturing and light and some green stuff like a public space should have. For now, the scene is minimal:
I am using the candidate release for the Blender 2.63 version with B-mesh and I’m getting used to it. I advise you don’t use B-mesh releases on important projects until the official one comes out (that’s very soon anyway), I tried that and almost lost the file completely. But bug aside, the new system is looking very good. I can work exactly the old way if I want, but I don’t because using the new features is useful. So next on my list will be that modeling for architecture article needed in the “How to” section.
For now I’ll tell you about the people in the image, png cut-outs on planes.
What I ideally want to do with my collection of cut-out people is have them all converted in blend files and scaled at the right size so when in need I could easily populate a large scene directly in Blender by appending. It is a bit time consuming and I haven’t finished arranging many files yet, but it will be a big time saver on a quick project if I manage to do it. Without this, it was easier for me on my recent projects to add them in Gimp, but the work flow is not too great, especially as I find Gimp still lacking in layer organisation and control. You might think I worry too much about this but the fact is my clients usually ask for well populated scenes and get particular on details, like not putting someone with a warm scarf in the same scene with someone in shorts.
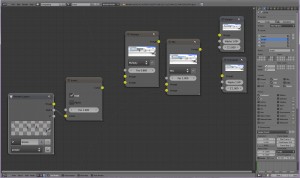
The silhouette effect in the image was achieved in Compositor:
For anyone wanting to play with this scene I’m uploading here a version of the file: plaza-bmesh
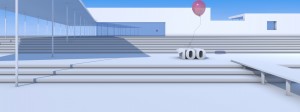
It contains the scene without the people and their compositing I’m afraid, as I am not sure about the right to distribute the textures this way. This version also uses a procedural sky texture instead of the photo one, it’s something I have made myself and it proved useful in some projects. If you care to try it, it should render like this:
Happy blending!


Pingback: Cut-out people in a Blender archviz scene :: Blender Mama()