Using cad files as correctly scaled raster image reference
ByWhat a long title! I updated this info for Blender 2.59
When building an architectural 3d model, the simplest and fastest way to get my cad-dwg reference into Blender is by inserting it as a raster image mapped to a plane. To make the best of this method, I also want to scale the plane so the drawing is at correct size and then have everything positioned neatly.
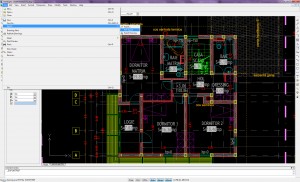
To open the dwg file I use Bricscad but I also found a 2d cad free alternative, Draftsight. I can clean up the file a bit, freeze some layers to make it easier to read, then export it as a pdf file.
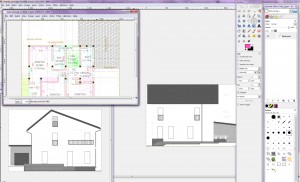
Next I will open the file in Gimp and make an exact crop around the drawing. The idea of the crop is that I can measure in the cad file the area I have cropped, say 10 x 15 meters and when importing it in Blender I can scale the plane to 10×15.I will repeat this for the main elevations and other plans and any data that will make it easier to model the building. If each drawing is cropped around the same elements – eg. the exterior walls or terrace bounds etc – this will allow me to align the edges of the planes in Blender and get everything positioned correctly. All this might look like a bit too much trouble but for a complex project I find it helps along in the work flow, making things much easier once all is in place. For a small project you might just use one floor plan as reference in Blender and get the elevation data from the cad file.
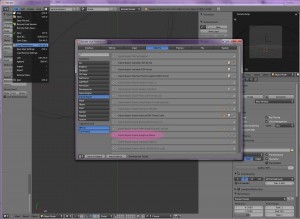
The last step is getting the images in Blender. Since Blender 2.5, this is made easier by the Image to Plane addon. You can find and activate it here:
After that, Image as Plane will appear in the import menu. If you want to keep it there click “save as default” in the Users preferences window (but remember to do it right after opening Blender as “save as default” actually saves as a start file all that you have at the time in your file, geometry, lights and any other settings). This very nice addon also comes with some options, shown in the left side toolbar but you can leave the default ones for this task.
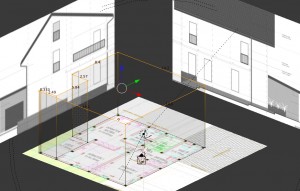
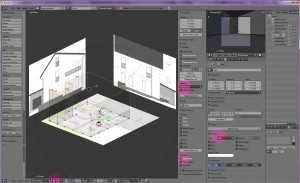
After getting my images-on-planes in, I will open the Properties panel (N key) and scale them in the dimensions input section. I find 1 Blender unit = 1m works best for me. After positioning, rotating and aligning the planes my “building site” will look like this:
One more thing: to see the images you have to use textured viewport shading but in this way the object under construction might cover the reference image. So I go to the object panel and set the object’s display mode to wire while I am building the model. The x-ray option in the object display settings can also help.
-
Amena
-
Oana
