Not a chair modeling tutorial
ByThis is not a tutorial as you might hope, as I barely have time to sit at my computer these days. So what do I do? Throw in a few screenshots with quick explanations and call it “not a tutorial” 🙂 Maybe I can develop a whole new concept this way!
Right now I have almost zero good blender format furniture items to use in future great blender architectural interior design scenes so I decided to get started on building a collection. I am very happy with the release of Blender 2.35 Beta. As a mom you can understand I have a natural need for stability and security, so beta sounds so much better than alpha. Overall I am very happy with the new face of Blender and will continue to put my faith in it. Unfortunately I had started this blog with lots of Blender 2.49 materials that I should now rewrite for 2.5 and I just have no time. I’m still figuring it out.
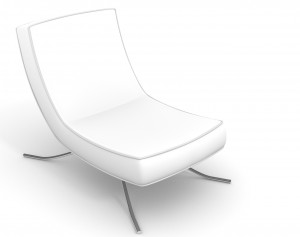
So here is how my finished chair model looks:
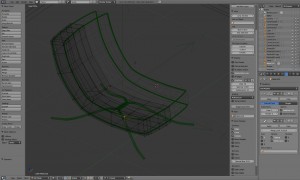
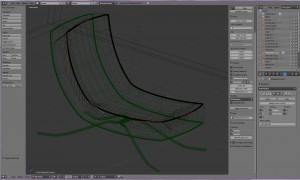
And here is a screenshot with the wire model:
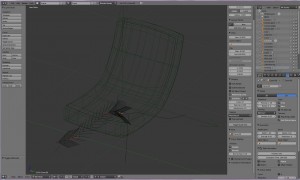
I roughly modeled half cushion from a box, then added a subsurf modifier and a mirror modifier. I was inspired by blenderguru’s new tutorials to use the mirror modifier and also from there I found out I can use an empty to make the mirror. I still have to figure out why I can’t make it work just by defining a mirror axis.
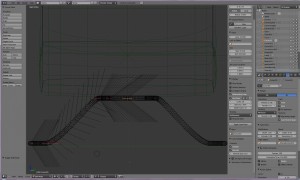
Next I struggled with the leg, using a bezier curve…
…then used a bezier circle as a bevel object on it…
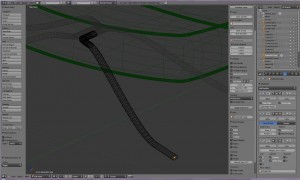
… the resulting beveled curve had open ends. I don’t know if I can cap it keeping the curve so I converted it to mesh and added the missing faces.
I also added a subsurf modifier to the leg because I wanted to render a high resolution image and though the mesh is pretty fine for medium renders, at 6000×6000 px the polygon at the end looked bad.
The chair had a prominent trimming, like a mattress, and I tackled it the same way as the legs, adjusting it with some difficulty to match the cushion shape. I tried at first to duplicate edges of the cushion, convert them to curves and apply a bevel object but for some unknown reason (wrong normals?) the bevel didn’t work well, so I inserted a new curve. Adjusting the trim to perfection seemed really difficult so in the last stage I started readjusting the cushion a bit to match the trim.
So this was not a tutorial but more of a peek into a modelling project. Next I will try to add a textile texture to it, maybe I will finally understand UV mapping…. if I do, you’ll be the first to know 😉
