Easy outdoor lighting for an architectural render
ByI love the Internal Blender renderer more each day.
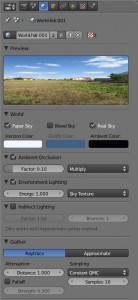
For the architectural exterior rendering I’m working on (see previous post) I am trying to keep it as simple as possible but hoping it will look like global illumination. In my first tests I used just a Sun lamp with raytraced shadows and the trick is done with the world panel settings, AO set on multiply and Environment lighting with sky texture which casts into the scene the colors from my background photo (that’s an actual photograph of the project building site). Last time I fiddled with the settingsI reached this conclusion:
One veerrrry important setting is the distance in the gather panel, when using raytrace. I found it must adjust to the scale of the model. The setting indicates the distance on wich the AO is computed from the object intersections, and as I work in meters, 1 meter is enough. Setting it too big gives a noisy and weird result, too small you get something like dirt build-up in the object creases.
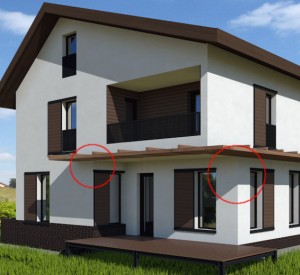
This was the result:
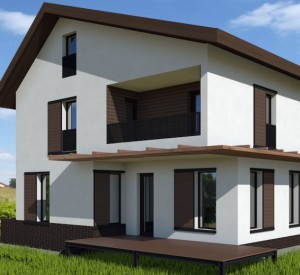
I think this is ok considering it renders fast and only uses one raytraced light, but I would like to improve a bit the areas I circled. The shadow on those spots looks too flat across the different wall faces and I think it will come out worse in print. The reason is the fact that there is no real influence from the sun lamp in those shadow areas; if I turn off the AO and Environment light these parts would be pitch black. AO acts uniformly across the surfaces and the only variation in shadow luminosity comes from the sky texture. So I decided wich walls should be lightened up a little and added two point lights with no shadow, just in front of the areas I want to improve. This is better. All edges are now clear.
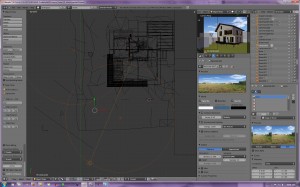
Light positions:
-
Carrozza


