Aligning grass blades in particles group distribution
ByIn a nutshell: since Blender 2.59, objects in groups used with particles have global x axis aligned with the emitter surface normal.
Featured image is a detail from my current lakeside house project.
Long version: my New Year resolution to finish last years projects brought me back to an old frustrating problem: grass made from grouped objects distributed with the particles system was messed up in the latest Blender versions due to changes made in Blender after release 2.59. And I actually never understood well the particle settings mechanism so I decided to try harder. Actually it is not a fix, as nothing is really broken, just a matter of understanding what those settings actually do.
This problem came out in the Nature Academy and several people posted there about rotating the objects in the group or changing other settings but as I already had tried to change the settings by myself I had all messed up and couldn’t get my file to work. I used a few 3d grass blades from Andrew Price Nature Academy resources for this test.
So here it is, I hope well sorted out:
1. Create some grass blades (or whatever you need, like flowers or lilipads or people in a crowd) and make them a group.
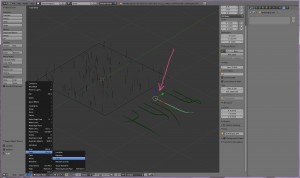
2. The particle system will stick the grass in the ground with the x axis pointing up. More exactly the global x axis, the red one, so have the objects aligned as below, origin of object at base of blade, and don’t forget to apply scale just in case, otherwise you’ll get weird scaling problems:
note: Blender versions previous to 2.59 used the y global axis.
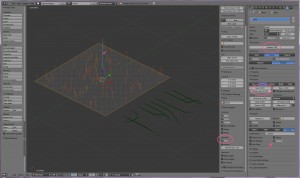
3. Check the ground object. In edit mode check the normals direction, they should be pointing up, if not use flip normals until they do. And of course.. do apply scale!
Add particle system set to hair, advanced. In render tab select the group. “Rotation” must be checked. I highlighted the main settings for adjusting size and density.
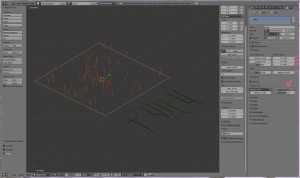
4. As a bonus and a check that all went well, you should be able to make some rotation adjustments fiddling with the highlighted settings:
In the rotation tab, Phase must not be zero so random setting to work.
If the scene moves slow you can go to the Display tab in the particles settings and let only a percent of the particles show. You can also turn the viewport visibility of the particles on and off in the outliner to the modifiers panel.
Another cool thing to do is using vertex groups and weight painting to make the particles appear just on parts of the emitter mesh but that’s a bit difficult for me to tackle in this same post.
I welcome feedback from those that have tested this so we make sure I got it right this time 😉
-
Nanette Tredoux
-
Oana
-
Carrozza
-
Oana
-
Ray Tungsteen
-
Oana
-
John
-
WimdB
-
Oana
-
JohnV
-
Darrick Roberts
-
Keylon
-
home sealing
-
Deanne
-
http://www.wapurl.co.uk
-
http://www.marine-reserve.org.uk


